-
ShanPaiWei Ind Zone, Dongguan,China

Track lighting installation
Track Lighting Installation Guide
Introduction
This presentation summarizes information from three sources regarding track lighting installation, covering installation techniques in different scenarios, component selection, and important considerations. Track lighting, with its adjustable nature, offers a customizable lighting solution suitable for various spaces, such as home offices, kitchens, and garages.
Main Topics
Customization and Versatility of Track Lighting:
- Multiple Configurations: Track lighting systems can be assembled into customized layouts using different track sections, connectors, and heads. “You can use different track parts, connectors, and track heads to make a complete custom track system” (Lamps Plus).
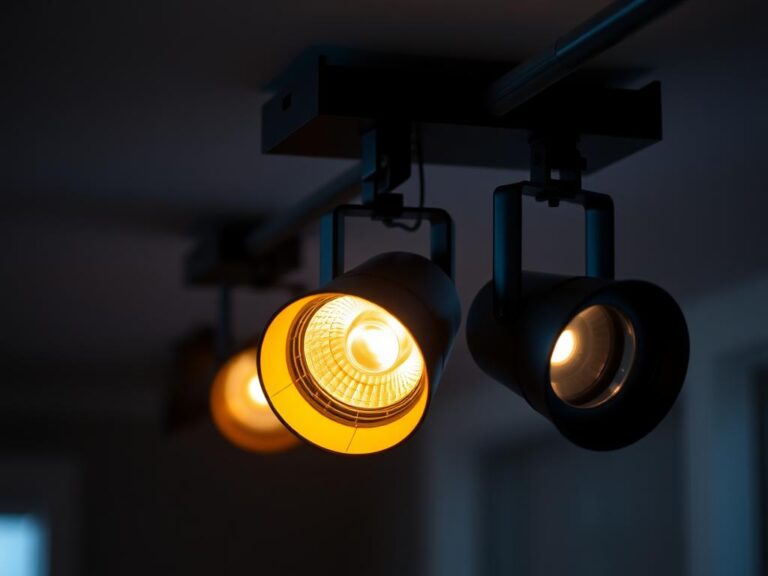
- Adjustable Lighting: Track heads can be adjusted to direct light, providing focused illumination, which is especially important for areas requiring task lighting, such as countertops or artwork. “Track heads are movable and aimable to get light where you need it” (Michael Hogan).
- Suitable for Various Spaces: From home offices to kitchens to garages, the versatility of track lighting makes it suitable for a wide range of spaces.
Installation Preparation and Considerations:
- Component Compatibility: Not all track components are compatible, so it’s crucial to check the manufacturer’s instructions to ensure they can be used together. “Not all track parts are interchangeable with one another, so check the track part manufacturer to make sure they can be used together” (Lamps Plus).
- Power Supply:
- Direct Feed: If a junction box is located near the desired track location, a direct feed can be used.
- Floating Canopy: If the junction box is not at the track location, a floating canopy can be used to direct power from the junction box to the track system. “If you want to put a track anywhere, you can use a floating canopy, which will connect the wires from the junction box to the canopy and then connect those wires to the track” (Lamps Plus).
- Safety First: Always turn off the power at the circuit breaker before installation and use a voltage tester to confirm the power is off. “Make sure while you’re doing this installation that you turn the power off at the circuit breaker” (Michael Hogan).
- Tool Preparation: You will need a ladder, drill, screwdriver, hammer, and other tools.
Installation Steps:
- Connect Power: Connect the canopy feed kit to the junction box. “First, connect the canopy feed kit to the junction box” (Lamps Plus).
- Mount the Track: Position the track on the ceiling and drill holes to secure it. Use screws and anchors to mount the track. “Then position the track where you want it, drill holes to secure the track to the ceiling” (Lamps Plus).
- Connectors and Elbows: Use connectors to connect different track sections and elbow connectors for turns. “Next, position any connectors, in this case, we used an elbow connector, and secure it to another track section and the ceiling” (Lamps Plus).
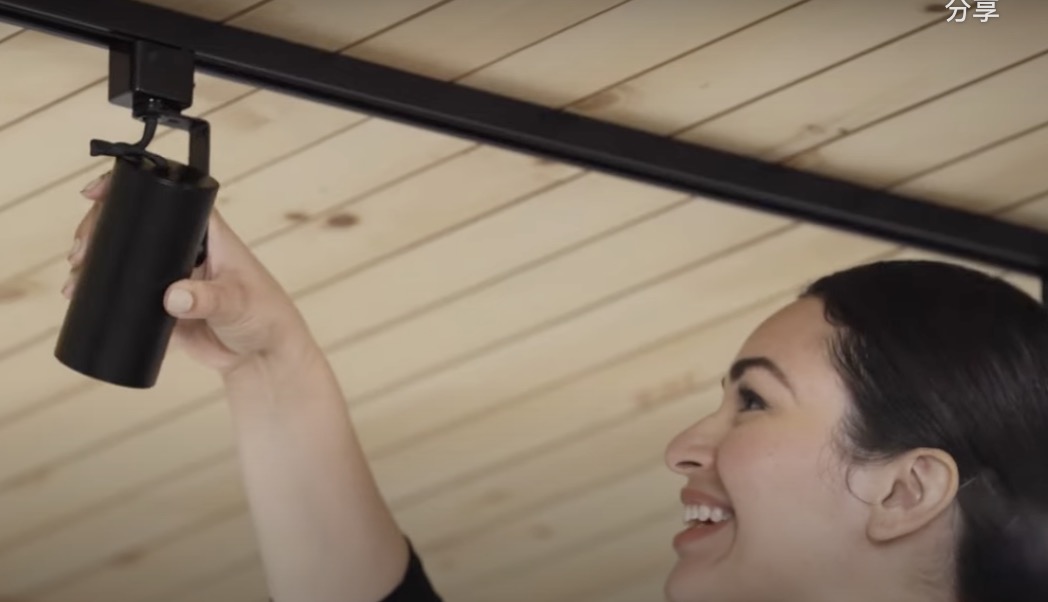
- Install Track Heads: Insert the track heads into the track and adjust their direction. “Now, you can position the track lights, insert them into the track, and place them where you want them” (Lamps Plus).
Types and Selection of Track Lighting:
- Variety of Heads: Besides standard track heads, other options like pendant lights are available. “You have a choice of fixtures that you can put on the track, like a pendant light, you can even pick up decorative shades” (Ask This Old House).
- Low-Profile LED Fixtures: Choose low-profile LED fixtures for a more modern look. “You can buy a low-profile LED fixture” (Ask This Old House).
- LED Energy Efficiency: LED bulbs are more energy-efficient than traditional bulbs. “Because it’s an LED, it’s going to use a lot less energy than your previous light bulb” (Ask This Old House).
Additional Installation Tips:
- Pre-planning: It’s best to plan the track layout on the floor before starting the installation.
- Use Flexible Connectors: Flexible connectors can help install track lighting in irregular spaces. “Use a flex connector to make a 90-degree turn or even a 45-degree turn” (Michael Hogan).
- Cutting Track: You can cut the track with a hacksaw to fit different lengths.
- Track Head Installation: Pay attention to the tabs on the track heads; insert them into the track and twist to lock. “If you look carefully at the tabs on the fixture, you just put it up on the track and then just give it a twist to lock them in” (Michael Hogan).
Key Facts and Ideas
- Cost-Effectiveness: DIY track lighting installation can save significant labor costs. “It’s a lot cheaper to do it yourself” (Michael Hogan).
- Lighting Needs: Track lighting can provide task and general lighting, meeting the lighting requirements of different spaces. “There are two kinds of lighting in a kitchen, one is task lighting, and the other is general lighting” (Ask This Old House).
- Dimmable: Use a dimmer switch to adjust the lighting intensity. “A dimmer switch will allow you to dim the lights” (Ask This Old House).
- Diverse Options: Track lighting comes in many different styles and designs.
Conclusion
Track lighting is a versatile, customizable lighting solution that can be easily installed through DIY, meeting the lighting needs of different spaces. With careful planning, safety precautions, and proper installation steps, anyone can install track lighting in their space to enhance the lighting effect.
I hope this translated presentation is helpful. Please let me know if you have any other questions.


